This is the BEST EVER Vegan Kimchi! This recipe is soy-free, gluten-free, oil-free and crazy delicious. I’ve developed this recipe over the course of a decade and it has a rich, deep, spicy flavor that you’re absolutely going to love. I have friends that will come out-of-state to get some of my kimchi and other friends who will barter/trade for my vegan kimchi, so I hope you will enjoy it as much as they do. 🙂
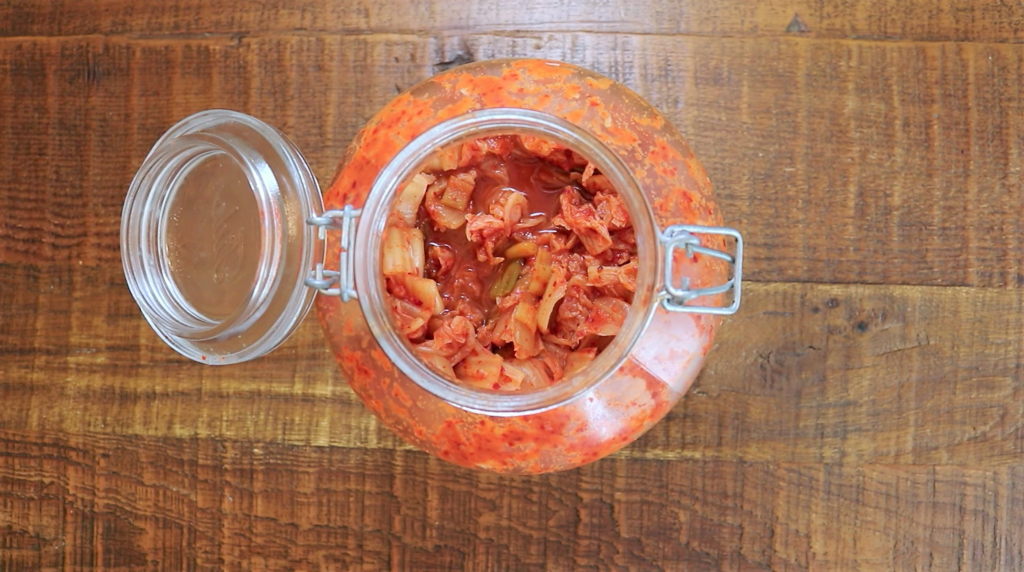
Kimchi is spicy Korean pickles and in this recipe I am making a classic version with Chinese Cabbage or Napa Cabbage. You can also make kimchi with radishes, cucumbers, and other veggies!
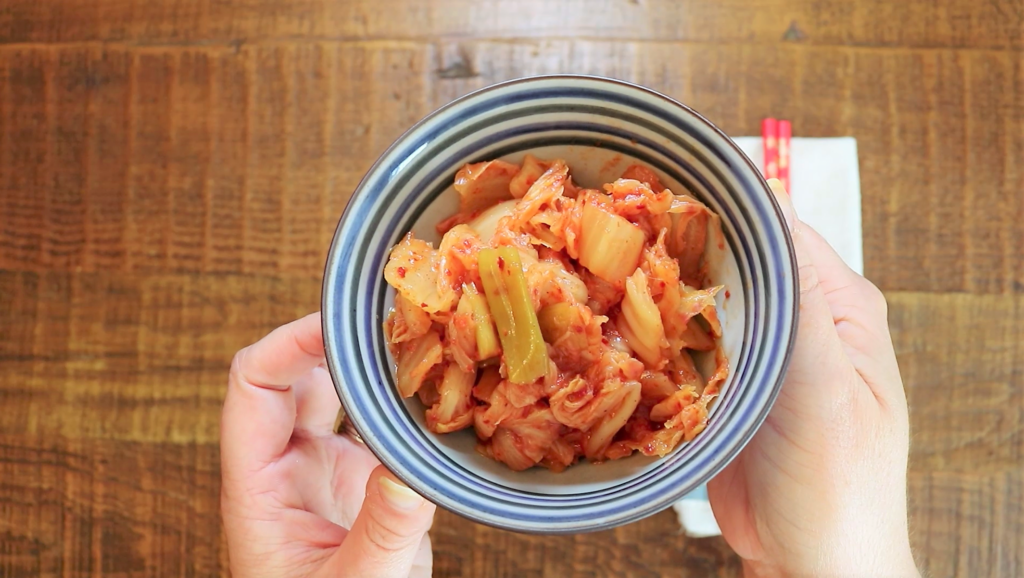
What makes kimchi unique to other pickles is the deep rich flavor and spiciness from Gochugaru (Korean Red Chili Flakes). Here is the kind I use: Gochugaru (Korean Red Chili Flakes) on Amazon. You can use any kind, just make sure there are no additives or preservatives, the only ingredient should be chili flakes.
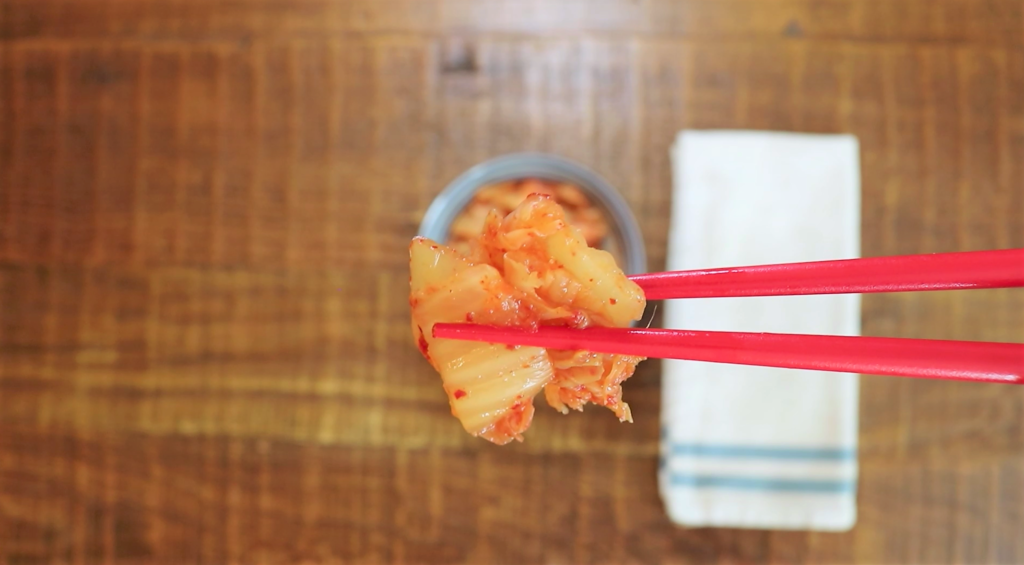
Vegan kimchi is great in wraps or sandwiches, on rice or cauliflower rice bowls, on salads, as a side dish, in soups & stews, and more! It’s a great addition on top of avocado toast in in other dishes. Let me know in a comment below, what is your favorite way to use kimchi?
How do you know when your kimchi is starting to go? It will get a bit sour. Then throw it in an oil-free stir fry, kimchi ‘fried’ rice, or cook it in a soup or stew to use it up. 🙂
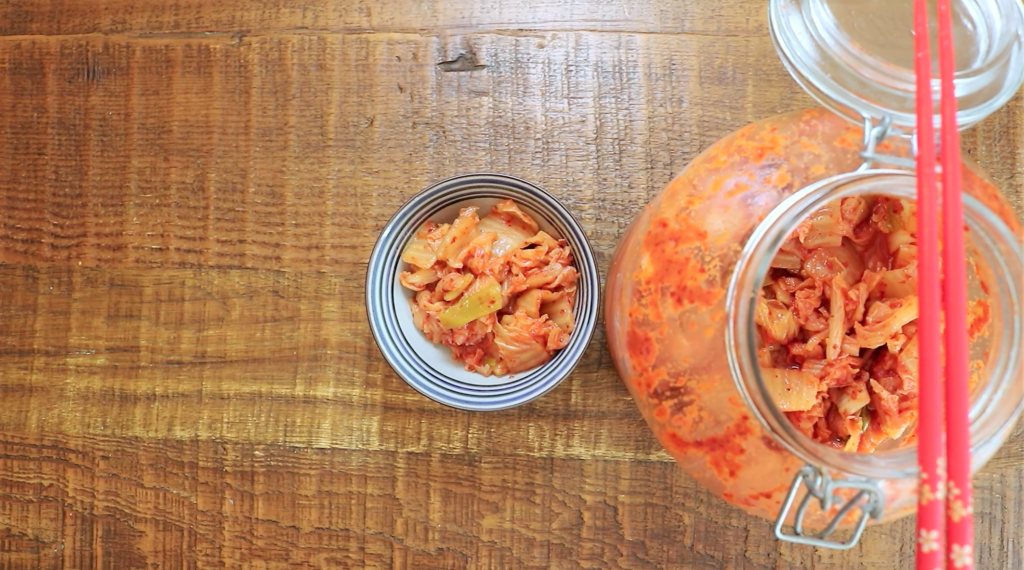
This kimchi is vegan because I don’t use fish paste or fish sauce in the recipe, but it tastes just like traditional kimchi. This will last for 6 months or more in your fridge and I always eat it way before then. This is also why I make a huge batch, so it stays in the fridge and and I always have kimchi! I use a 4 Liter Glass Canning Jar. If you want a smaller portion, feel free to half or quarter this recipe.
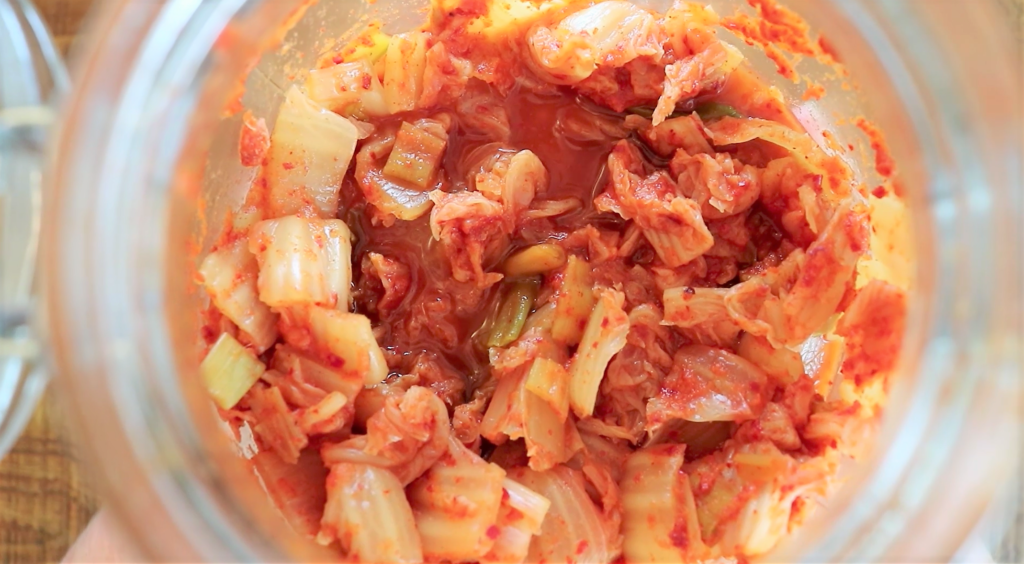
BEST EVER Vegan Kimchi
Ingredients
- 3 heads napa cabbage
- coarse sea salt
Red Sauce
- 1 medium onion
- 4 cloves garlic
- 1 inch ginger
- 1 red bell pepper
- 1 tsp sea salt
- 1 tsp maple syrup
- 1/4 cup filtered water
White Sauce or Rice Paste
- 1 tbsp mochi or 'sticky rice' flour
- 4 tbsp filtered water
For the Kimchi
- 1 bunch scallions or garlic chives, chopped
- 2 inch daikon radish, julienned
- 1/3 cup Gochugaru (Korean Red Chili Flakes)
Instructions
Prepare the Cabbage
- Wash the outside of the cabbage thoroughly, remove any bad leaves.
- Cut the cabbage into large chunks, slightly bigger than bite-sized.
- In a large salad bowl (or 2) separate the kimchi leaves and layer them in the bowl with sea salt. Add more cabbage then more salt as you go, till all the of kimchi is layered with sea salt.
- Cover with a cotton cloth and leave for 2 hours so the salt can draw out the moisture.
- After 2 hours, wash the cabbage thoroughly, draining away any excess water.
For the Red Sauce
- Put all the red sauce ingredients in the blender and blend until smooth.
- Massage onto the rinsed and drained cabbage leaves, mixing well.
For the White Sauce
- In a small sauce pan whisk your rice flour and water together until there are no lumps.
- Then over low heat, stir constantly until it forms a paste. Remove from heat and set aside to cool.
- Once cool, add your white paste to the kimchi and mix in evenly.
For the Kimchi
- Mix in your extra veggies. I like to put scallions and daikon radish.
- Finally, add your chili flakes and massage them in, coating the kimchi evenly.
- Fill a large glass jar with your kimchi, I use a 4L canning jar without the gasket (see above) and make sure there is at least 1 inch of room at the top.
- Leave on your kitchen counter for 3 full days. WARNING: Your house will smell very strongly of kimchi, I never have guests over during these three days. 😛
- After 3 days move the kimchi to the fridge. Leave in the fridge for 2 weeks before serving for the best flavor.
Notes
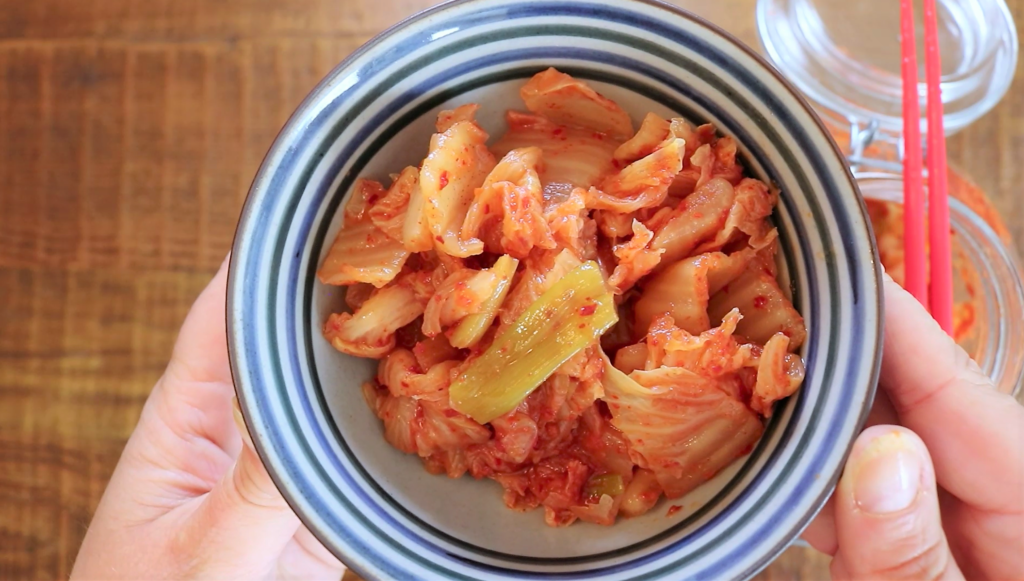
If you make this vegan kimchi, post a picture to Instagram and tag me @CultivatorKitchen and use the hashtag #culivatorkitchen so I can see!
And don’t forget to subscribe to my YouTube channel for a lot more regular content, recipes, and to see my ‘what I eat in a day’ vlogs: Subscribe to Cultivator Kitchen on YouTube.
Leave a Reply