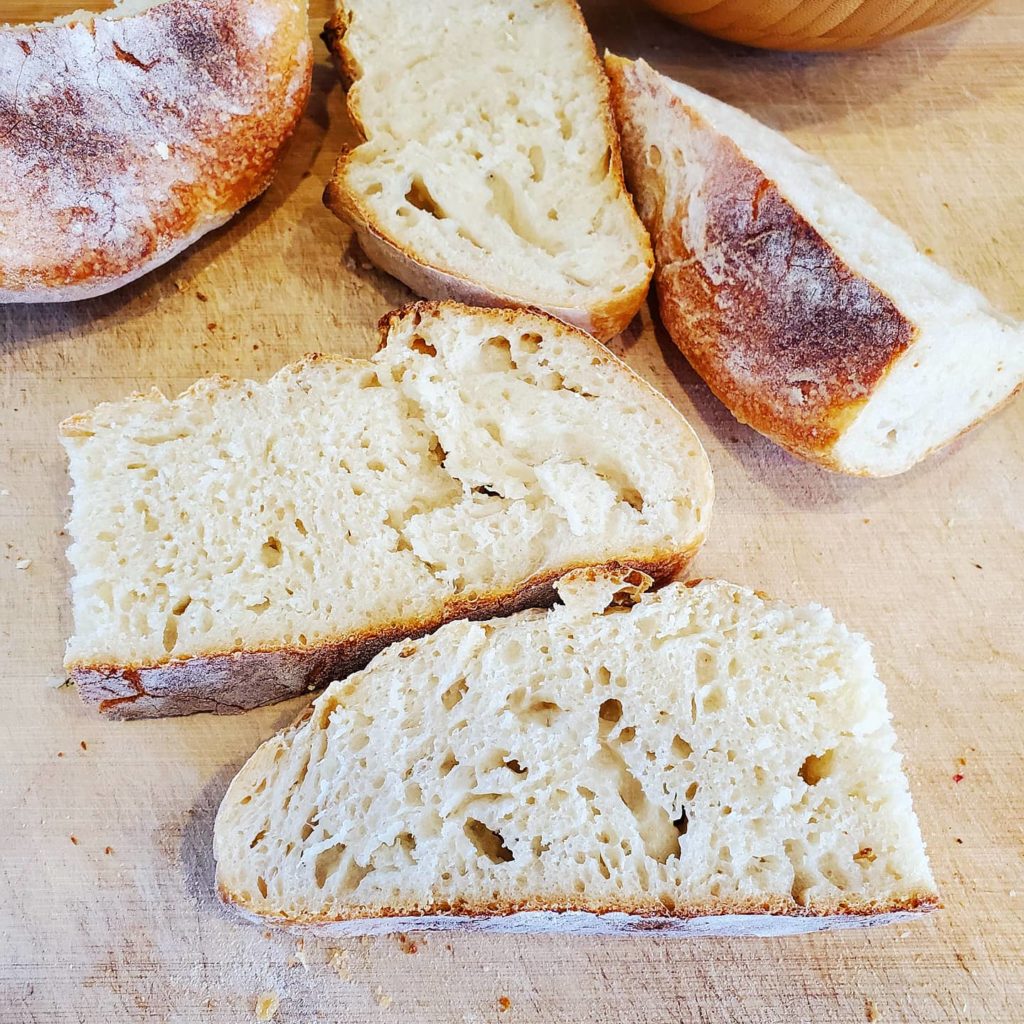
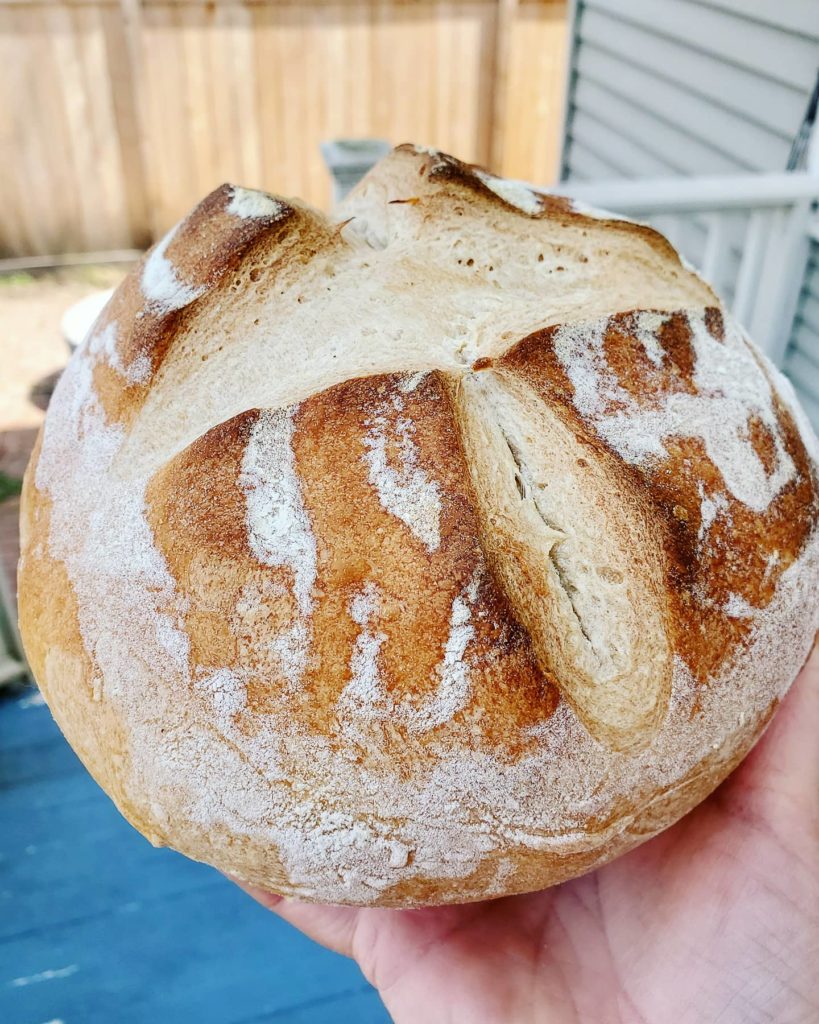
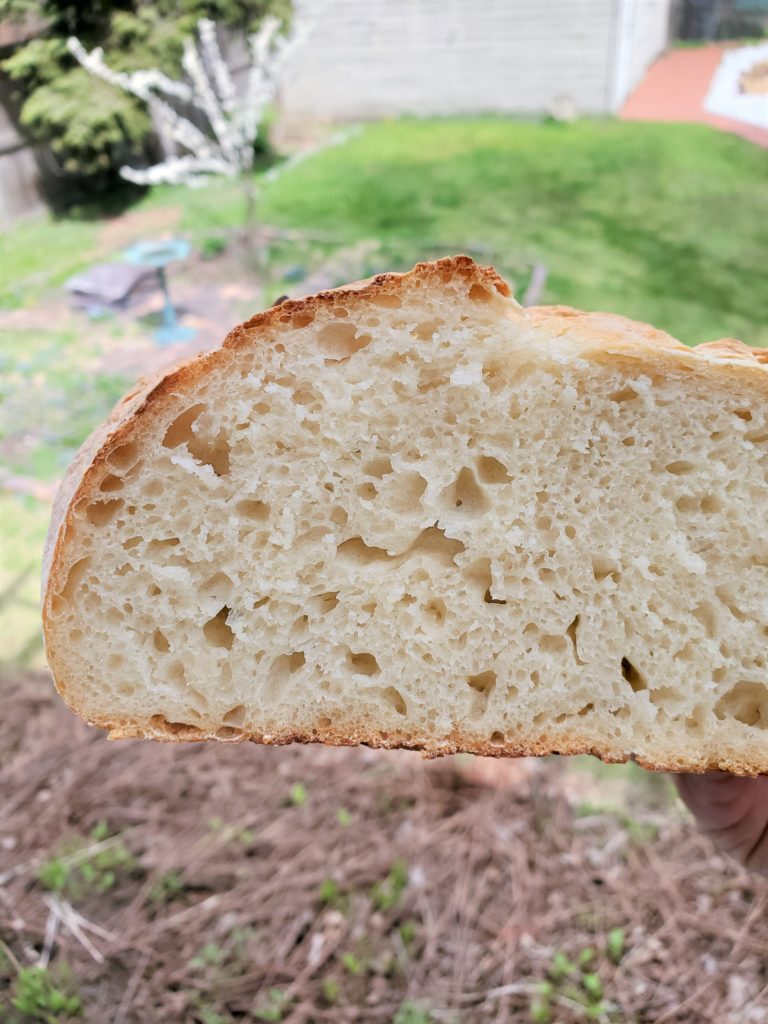
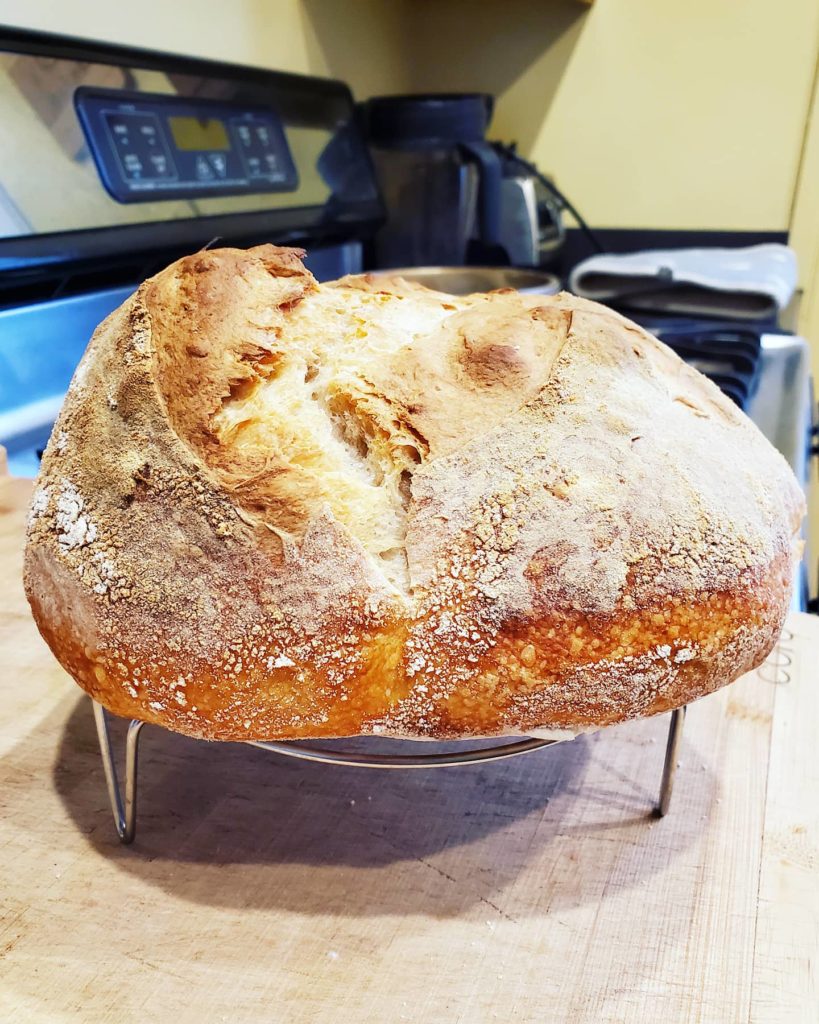
EASY sourdough bread with no kneading, and no special equipment. This is a great beginner recipe that anyone can try! All you need is starter, water, salt & flour. I use a bowl, spoon, cotton cloth & a sharp knife. No proofing basket, no scale, no dough scraper, no special scouring blade, no dutch oven, no fancy stuff.

I used to think that sourdough bread was more trouble than it was worth and it was too complicated for me to attempt. However, nothing beats the texture or flavor of sourdough and I wanted to bake easy, naturally fermented bread at home.
Sourdough baking has become a major trend of the pandemic, spurring the #quarantinebaking hashtag and an abundance of people sharing their starters. I got mine from one of our favorite pizza restaurants in Chicago that started selling sourdough starter and flour to stay afloat. I decided to support them and my sourdough love began. 🙂

This is an easy, no stress, sourdough recipe that requires very little attention to the dough. The key is the long ferment which gives amazing flavor and texture. Also, letting the dough ferment naturally makes the bread healthier and easier to digest. Not to mention, it gives you time back so you can go about your day! I like to start my bread on Friday morning for weekend baking.
Do you love sourdough? Will you give this recipe a try? Leave a comment below if you are going to make this & how you like to serve your homemade bread.

EASY Beginner Sourdough Bread
Ingredients
- 1 cup room-temperature filtered water
- 2 1/2 tsp sea salt
- 2/3 cup sourdough starter
- 2 heaping cups organic bread flour or organic all purpose flour
Instructions
- Combine the water and sea salt in a mixing bowl, stir together to dissolve. Add your starter and stir to combine.
- Add your flour and fold in with a spoon or spatula. Mix until it becomes a rough dough ball.
- Cover the dough in the mixing bowl with a cotton cloth and set aside on your counter for the day, at least 8 hours.
- In the evening, wet your hands slightly and pull the sides of the dough gently off the bowl and fold it over itself. Pick up the dough and tuck the sides under until you have a slightly better round shape. The dough will be quite sticky and you may need to re-wet your hands.
- In a medium sized bowl put a cotton cloth and dust lightly with flour. Place your loaf round-side down into the floured cloth and then sprinkle some flour on the underside as well. Tuck the cloth over the dough so it's covered. Let rest in the fridge overnight.
- The next day, preheat your oven to 450F and add a small pot of water to the back corner of your stove. Make sure it is an oven-safe container and I put about 1 quart of water in mine. This will create steam to give the bread a wonderful crust.
- Take your loaf out of the fridge and flip it over into a metal baking pan. Using a sharp knife, cut an X pattern into the top of your loaf.
- Bake your loaf in the steamy oven for 40 minutes. Then remove and let rest for 1 hour before slicing. Serve & enjoy!

If you make this sourdough bread, post a picture to Instagram and tag me @CultivatorKitchen and use the hashtag #culivatorkitchen so I can see!
And don’t forget to subscribe to my YouTube channel for a lot more regular content, recipes, and to see my ‘what I eat in a day’ vlogs: Subscribe to Cultivator Kitchen on YouTube.
have you tried this with GF flour?
Hi there – your bread looks great..am fairly new to sourdough baking and have been cheating a little a using some dry yeast with my sourdough starter. I am now keen to ditch the dry yeast and use the sourdough starter on it’s own. I have a bake or convection setting on my oven – I presume I just use the bake setting? is that correct? Also when it is finished cooking (after 40 minutes) do you leave it to rest outside the oven in the pan it was cooked in or should you transfer to a wire rack?…thank you
Hello!! Awesome questions 🤓 you can use convection as it will heat more evenly, you may need to reduce the cooking time if you do, I would experiment! I don’t have a convection oven, so my temps & times are for the ‘bake’ setting. For cooling, I transfer to a wire rack so the bottom doesn’t keep cooking. Enjoy!! 💜💜
Thank you for getting back to me!…the result – it was fantastic…thank you so much for sharing your recipe and tips – just perfect for a sourdough beginner like me! I used the “bake” setting for 40mins (and cooled it on a wire rack)t. I am going to try half rye/half all purpose flour next time and see how that turns out. I will probably use a little less salt (kosher) next time maybe 1&3/4 tsp (instead of 2&1/2tsp) and see what that is like also….thank you again!!! (now I will try to post on instagram and tag you – that will be harder than making the bread!)
Yaaay!! I’m so glad it turned out awesome and you like it! ❤️ Looking forward to your Instagram post. 😁👍
First time making sourdough and I nailed it because of this recipe!! Very straight forward and easy to follow. A great way to get your feet wet in the world of sourdough bread baking to see if you like it before buying all the special tools. Thank you for this recipe!!!
Yaaay!! Thank you so much, this is awesome to hear! I’m so glad you liked it. 😊💞💞
Looks like something I’ll try with my new starter? Can you explain what you mean by putting a pot of water on the stove? I’m a bit confused about that? The pot should go on my stove top or in my oven?
Hi! I know I’m a bit late to the game but I just saw your video and tried making the bread. Everything looked great but after leaving it out for 8 hours it was extremely runny and loose. My guess is that it was extremely warm and so the dough didn’t set properly… does that make sence? Any advice how to fix?
It sounds like it was too warm! Try leaving it in the fridge instead. I hope that helps!!
Hi! I’ve prepped my dough and am planning to bake it in the morning 🙂 I have a Dutch oven I’d like to use… just wondering, is it the same instructions? Preheat to 450, then insert dough in the cold dutch oven? Or should I put the Dutch oven in the oven before I preheat? Lid on or off? Thank you!
I’ve made this a few times now, some have turned out better than others, but in general, they’ve been good!
I think one of the times I might have kneaded too much when I was shaping it (I thought that would be good since many other recipes have that as an essential component), or maybe it was something entirely different, but:
Some times they turn out very dense and heavy. Not like yours where it looks more airy. I live in the Arctic, but the kitchens I have been in have been fairly warm. My starter is lively and bubbly, but perhaps I need totally active (fed within 4 hrs) starter in the recipe? Not fed “last night”?
And is keeping it in the fridge a necessary step? Or could it stay on the counter? Perhaps just shortening the time?
I know that’s lots of questions, hope you have a chance to answer at least some of them 🙂
Hi, I am going to try this over the next couple days. In preparation, should I feed my starter the morning of or day before I am going to use it? New to this. Thanks so much
I was a little nervous making this recipe because it was my first time making sourdough, but it turned out amazing I might be a little less salty next time, but besides that, I absolutely love it!!!!
yay! So glad you loved it! 🥰