UPDATE: See our latest garden renovation here Complete Garden Transformation & New Raised Beds! see why we ditched these kits and opted for new raised beds. 🙂
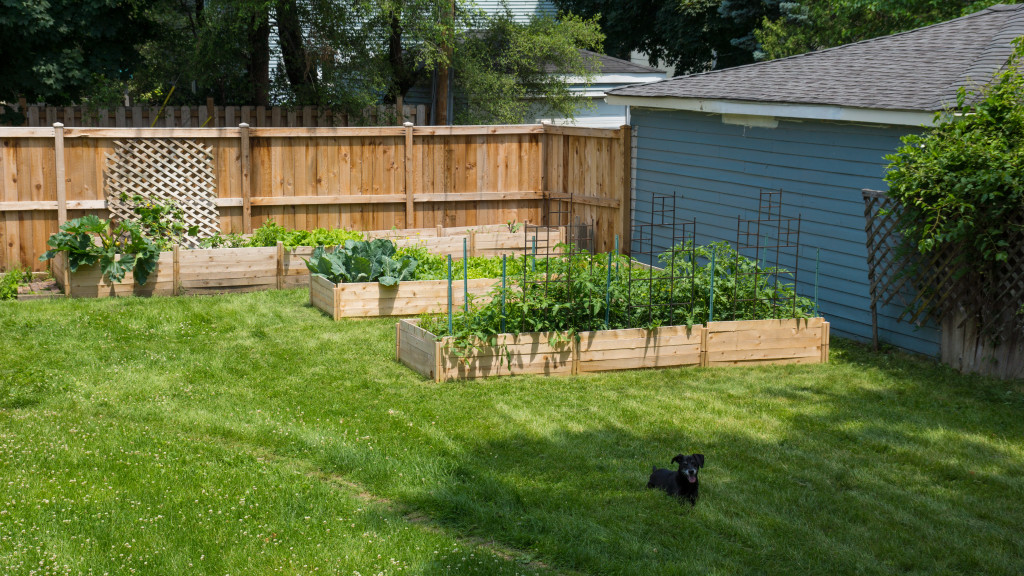
Our new raised bed garden for Summer 2015, see below for how to build your own! (dog-model not included)
I am so excited to share with you today how we tripled our garden space this year and built cedar raised beds from kits, without tools, customizing the height and shape of our growing beds. I’ll share how to plan for and then ‘build’ cedar raised beds, and share some updates on our summer garden progress. This was a great addition to our urban garden this year, and a quick and relatively inexpensive way for you to create your own tiny food oasis.
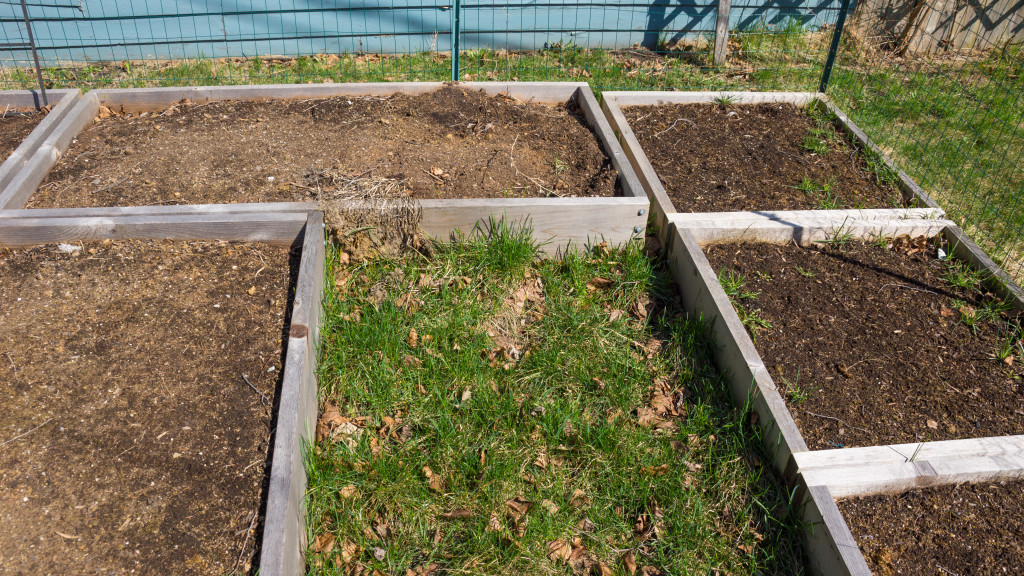
Our old beds at the end of winter, they are being recycled into another growing area, stacked for added height
In April of this year we decided to plan for the redesign of our garden space. We had a single ‘E’ shaped area that was made from prefabricated 10-inch high beds. These beds were nice and sturdy but were expensive and lower in height than we wanted. Higher raised beds means easier gardening and pest prevention, but, more importantly, means greater control of your soil mixture. We weren’t sure if our yard previously had been sprayed with any sort of chemicals, so we wanted our plants to only come into contact with our new dirt and homemade compost. Cedar is rot and termite resistant which means you’ll get more years out of your beds.
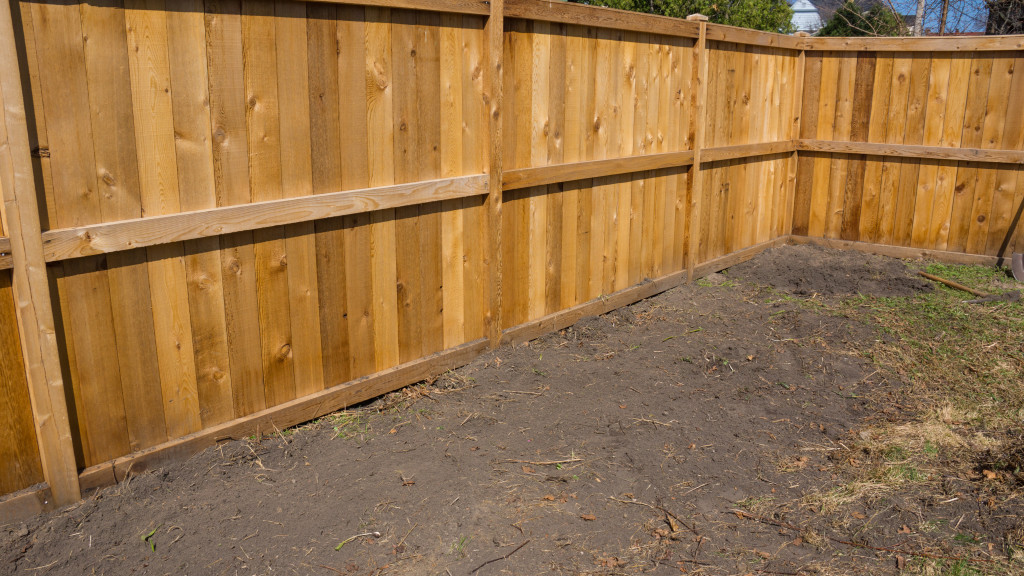
Our clean slate! As cleared and even as we could get it
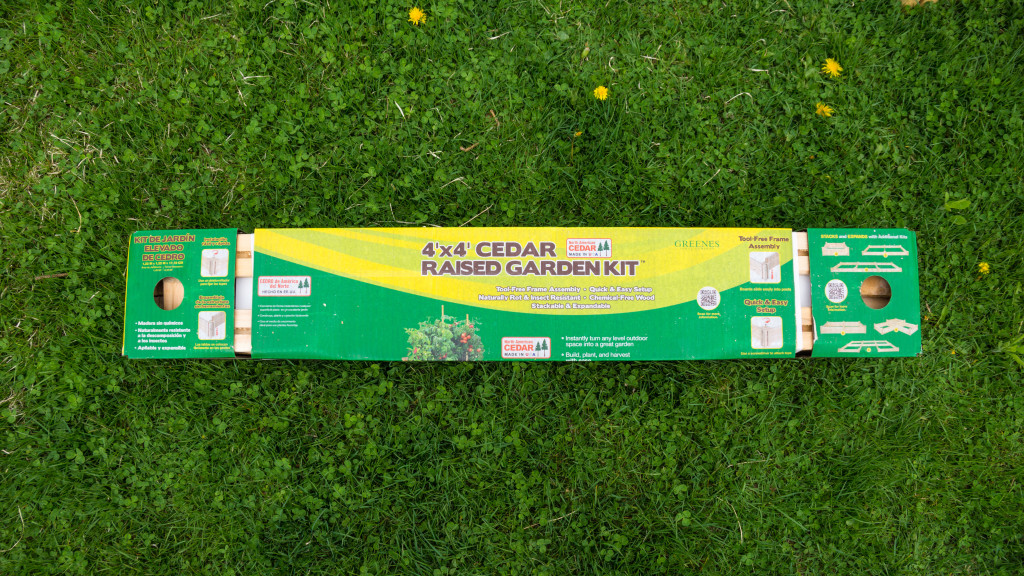
4×4 Cedar Raised Garden Kit from Home Depot
We cleared an area along the entire length of our back fence, and a large area around our garage. We found inexpensive cedar raised bed kits from Home Depot. They are a bit flimsier than our previous beds but easily customizeable, I recommend waiting till they go on sale instead of paying full price and then they are definitely worth it. These beds are stackable and configurable and don’t require any tools for assembly. We lined them with cardboard for added soil-retention and support.
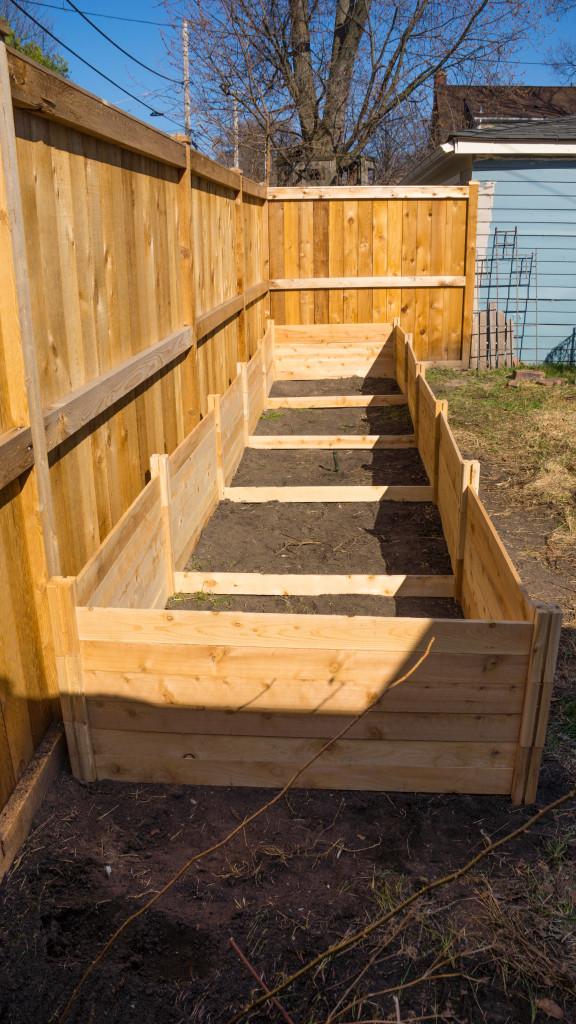
May 2015, we built our new beds using only one board for spacing in the middle which saved us time and kits.
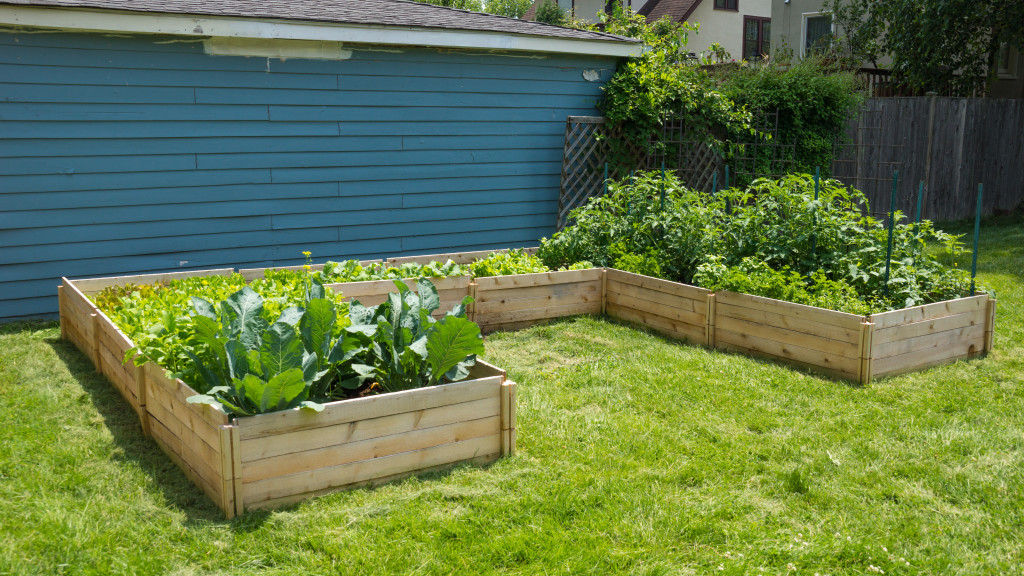
We measured the clear areas for 4 foot beds, and decided to run a 20×4 foot bed along the entire back fence of our yard. We then measured our old ‘E’ shaped beds which were only 3-foot wide and decided to pull them up and add in the 4-foot wide beds in a ‘C’ shape. The middle area is great for harvesting or even a potential garden patio spot in the future. The old beds we moved and stacked against the garage in our third growing area.
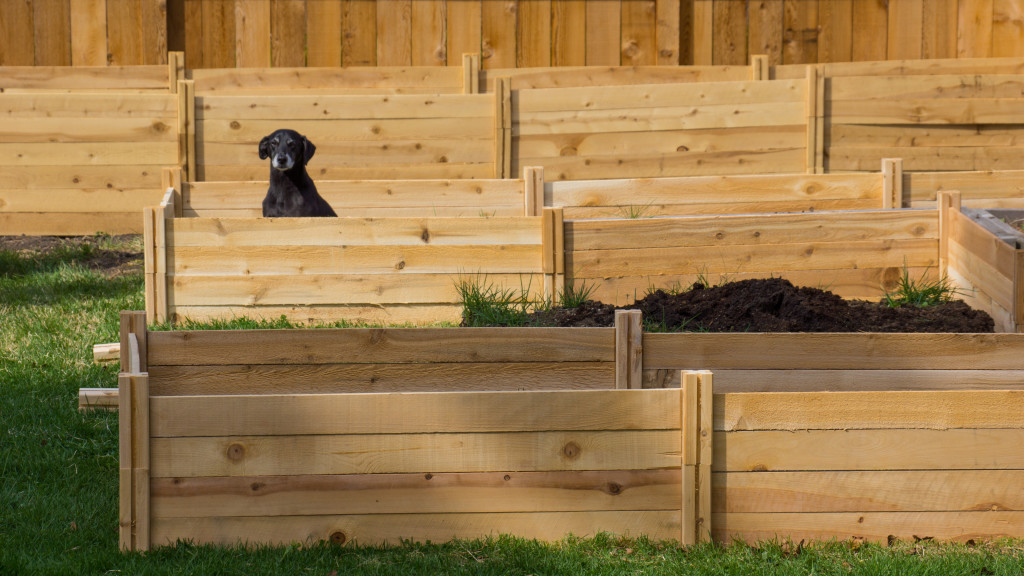
My hilarious dog decided the unfilled beds where a great spot to be while we were working…here he is looking rather regal
Once we had measured the area we determined we wanted to double-stack the bed kits for added height, but save boards in the middle of the sections to use on the outside. We determined would need 21 raised bed kits to make both new beds, 11 to go all the way around, and another 11 for a second row of height. We ordered 22 cedar raised bed kits at the sale price for pickup from Home Depot so we would have one for spare parts if necessary. We were able to assemble our new beds over one weekend, any easy spring project. Now we’re enjoying the bounty they bring!
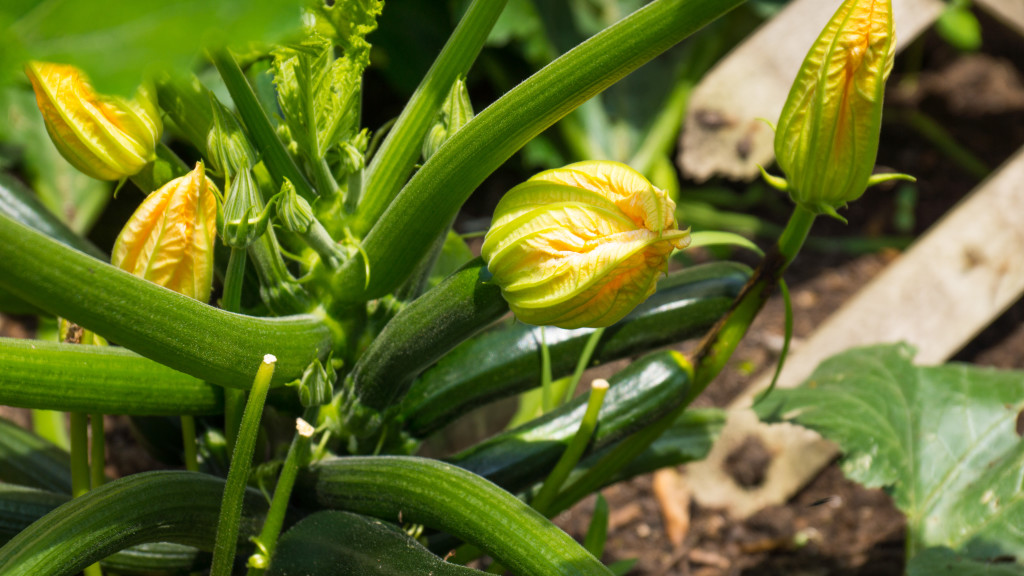
zuchinni with blossoms

bell pepper growing strong

two kinds of heirloom spinach, amazing in smoothies!
How to Build Cedar Raised Beds from Kits
- Measure your space and design an area based on 4-foot boards
- Order your kits for pickup (on sale!) based on your measurements
- Clear the area for your garden so it’s as flat as possible (see above)
- Unbox your first raised bed kit
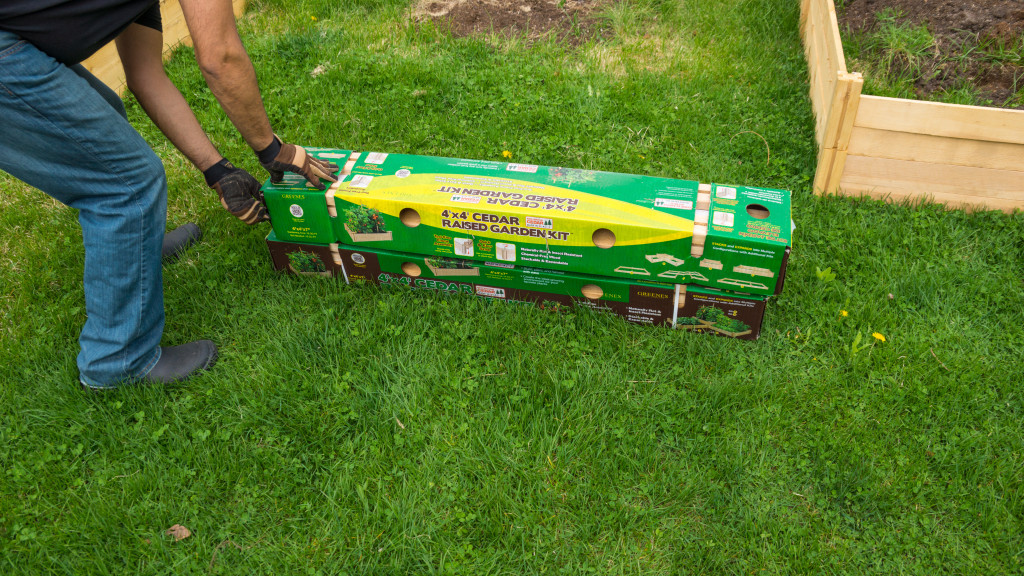
my husband demonstrating how to open a kit
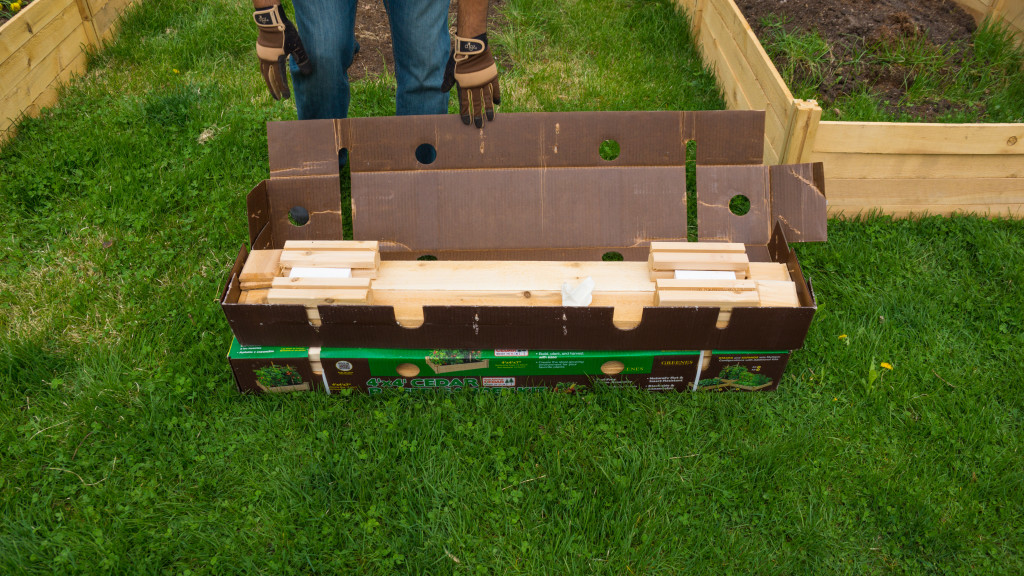
freshly opened garden bed kit
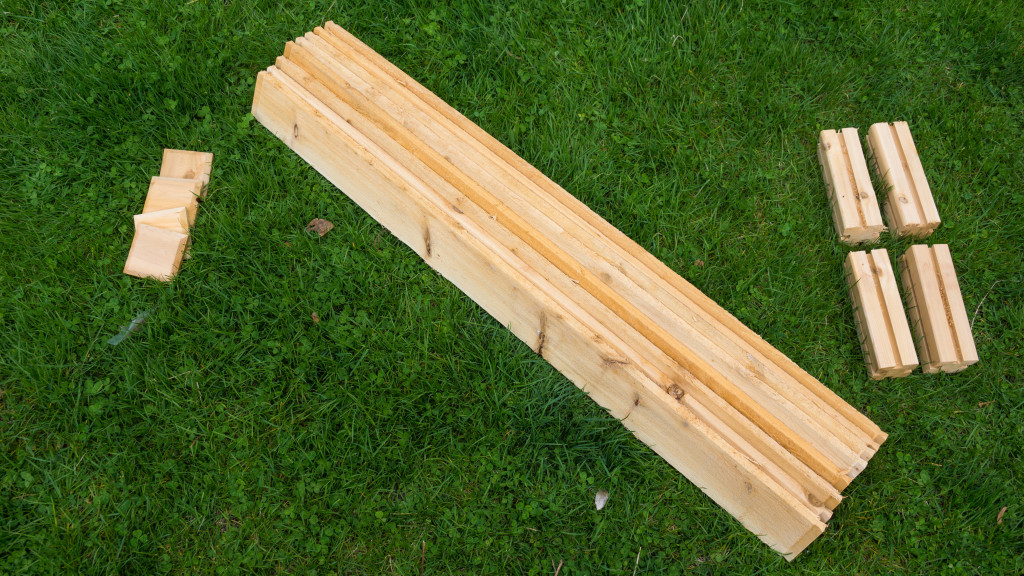
what’s inside: 4 posts, 8 boards and post tops (which we didn’t use)
- Place your first post in the ‘corner’ of your design
- Slide in 2 board on each side of this post to form the first corner
- On one side of your corner place another post & two more boards
- Work your way around your design until you’ve met back with your original corner
- To build up another level put another board on your original corner (3 high now) then slide on another post to that board. The second post should be halfway onto your 3rd board.
- Fill in with 2 more boards, the beds will now be 5 boards high. You can go all the way around for one tall bed, or close off one side and have a multi-level bed
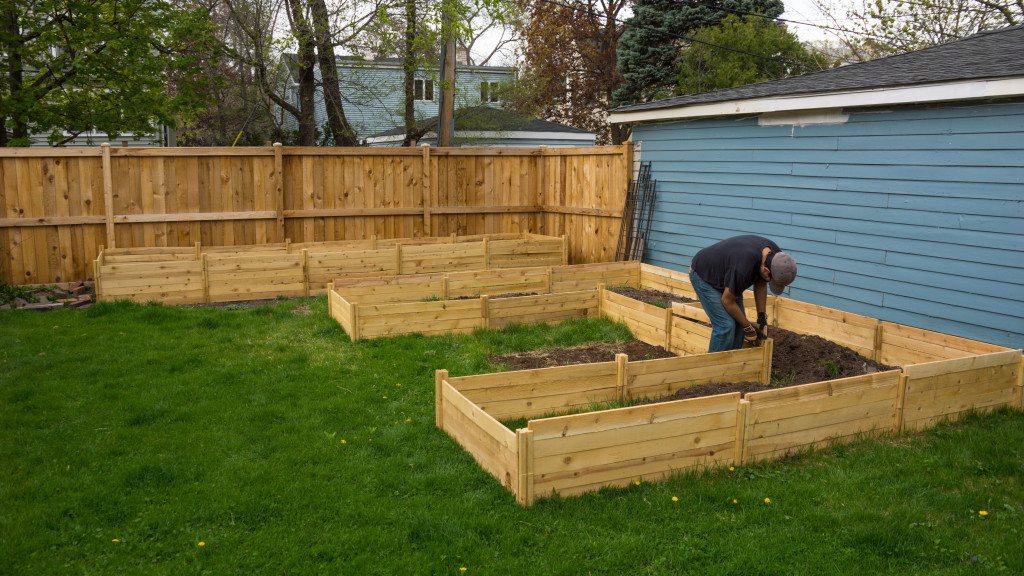
it’s easy to slide the boards into place between the posts, go around till you reach the desired height for your raised beds
- To maintain the spacing of the sides to 4 feet, for each square 4 feet we put one supporting post across the inside middle of our beds
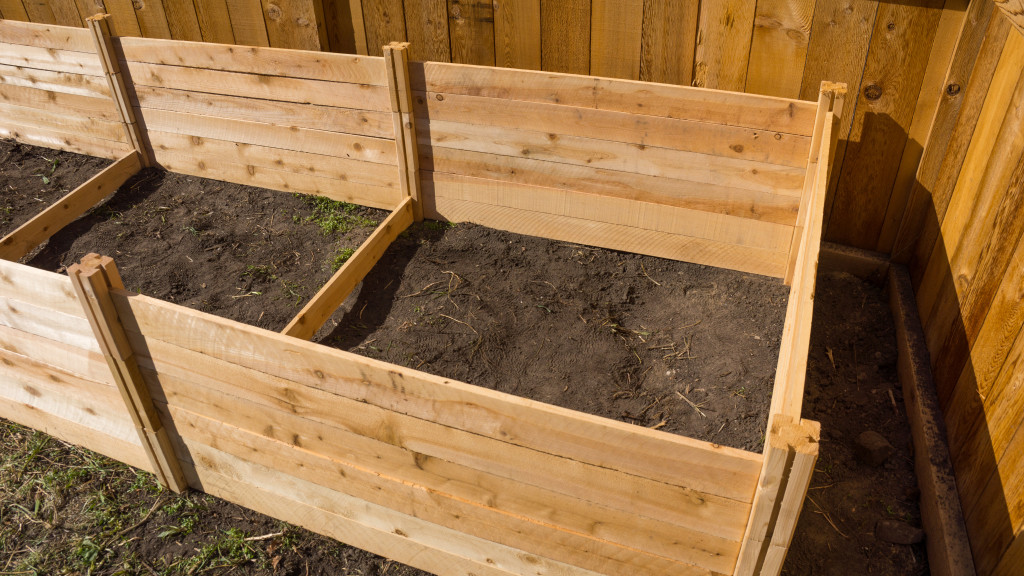
use one post between 4-foot sections for support and spacing
- After you have the desired height & shape for your new garden bed, line with opened cardboard boxes along the bottom and sides for soil retention and to prevent weeds, they will break down over time and become compost
- Fill with your soil mixture then water so it can settle
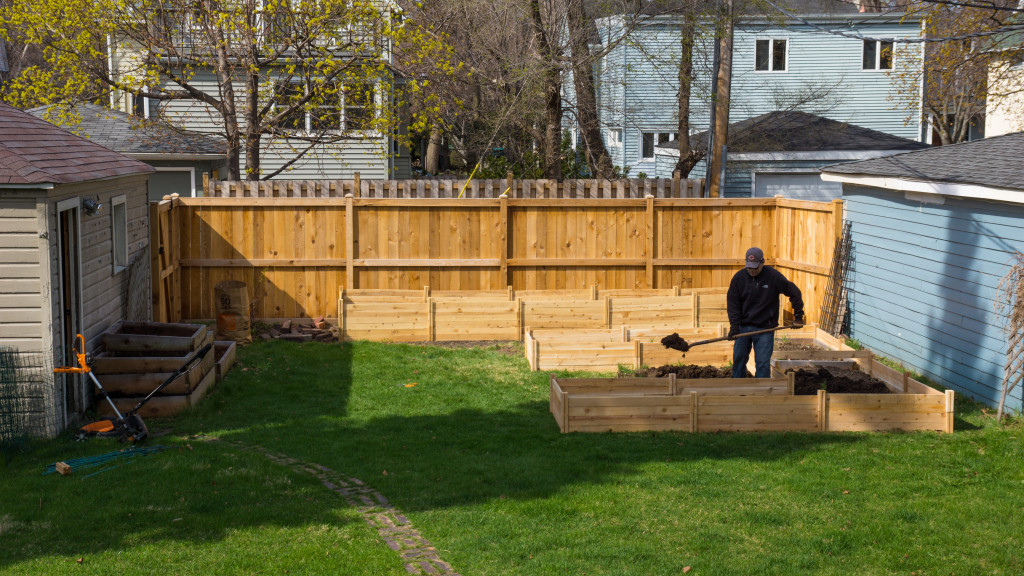
my husband demonstrating how to fill with soil and compost (I promise I did most of this myself)
- Plant seeds or plant starts, water well, and watch your garden grow!
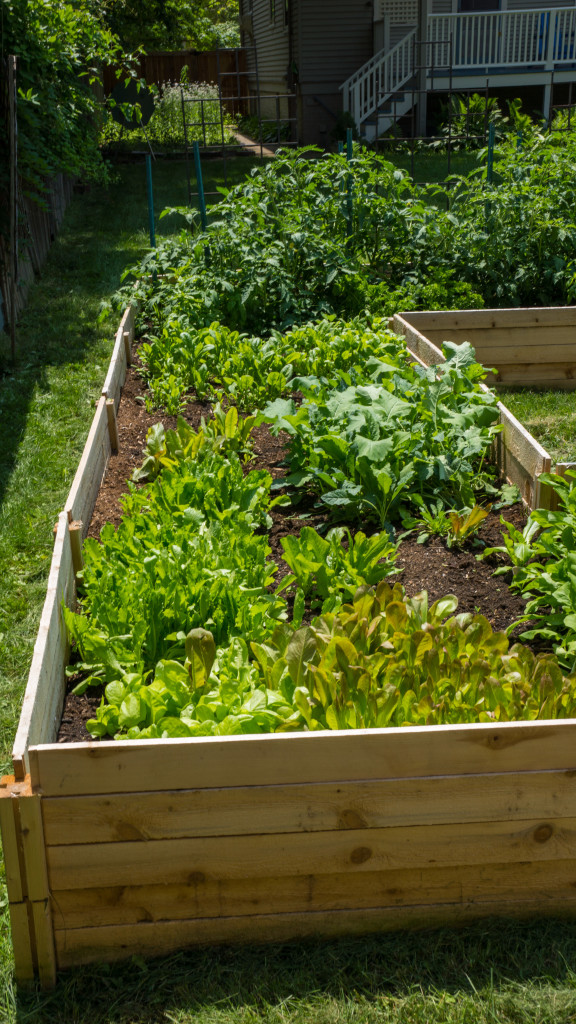
view of part of our new beds in early summer, with lots of lettuce types, spinach, herbs and tomatoes growing!
Follow Up
Here is our garden later in early summer, the beds are holding up well despite being thin wood.
Some of what we’re growing includes heirloom tomato varieties, basil, cilantro, parsley, mexican tarragon, two kinds of spinach, lacinato kale, six kinds of lettuce, arugula, broccolini, purple rapini, golden purslane, green purslane, cauliflower, two kinds of asian eggplant, carrots, leeks, daikon, radishes, shishito peppers, bell peppers, cucumbers, and zucchini. whew. 🙂
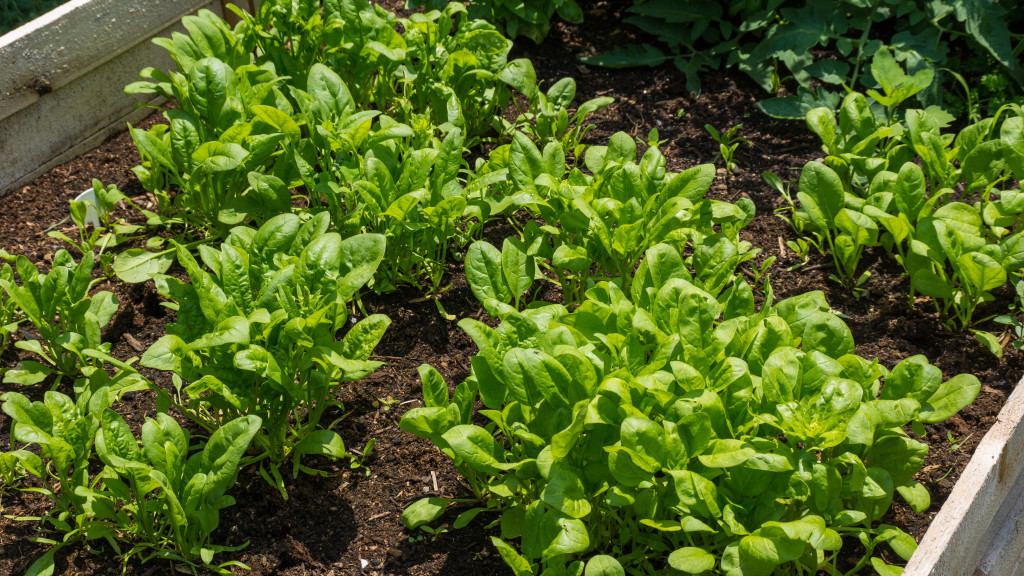
spinach varietals, so sweet and tender, my favorite smoothie addition

basil amongst the spreading tomato leaves

adorable intruder, enjoying some parsley
What are you growing this summer?
These are gorgeous! One of these days I would love to see your amazing garden in person. And I confess I have no idea what purslane is 🙂
Thank you!! Yes, come on by and check it out Diana! Most people consider purslane a ‘weed’ but it’s one of the best sources of Omega 3s, more than fish, among other nutrients. 🙂